I put 400 watts of solar on my RV roof. Not because I needed to — the RV park has hookups — but because I wanted to boondock without running the generator. Three months later, I’ve used the generator once. Here’s what I learned.
The kit question
You can buy panels individually, or buy a kit. The kit is easier: panels, charge controller, cables, mounting brackets, all matched. For a first-timer, buy the kit. The $50 you save buying separate isn’t worth the headache of mismatched voltages.
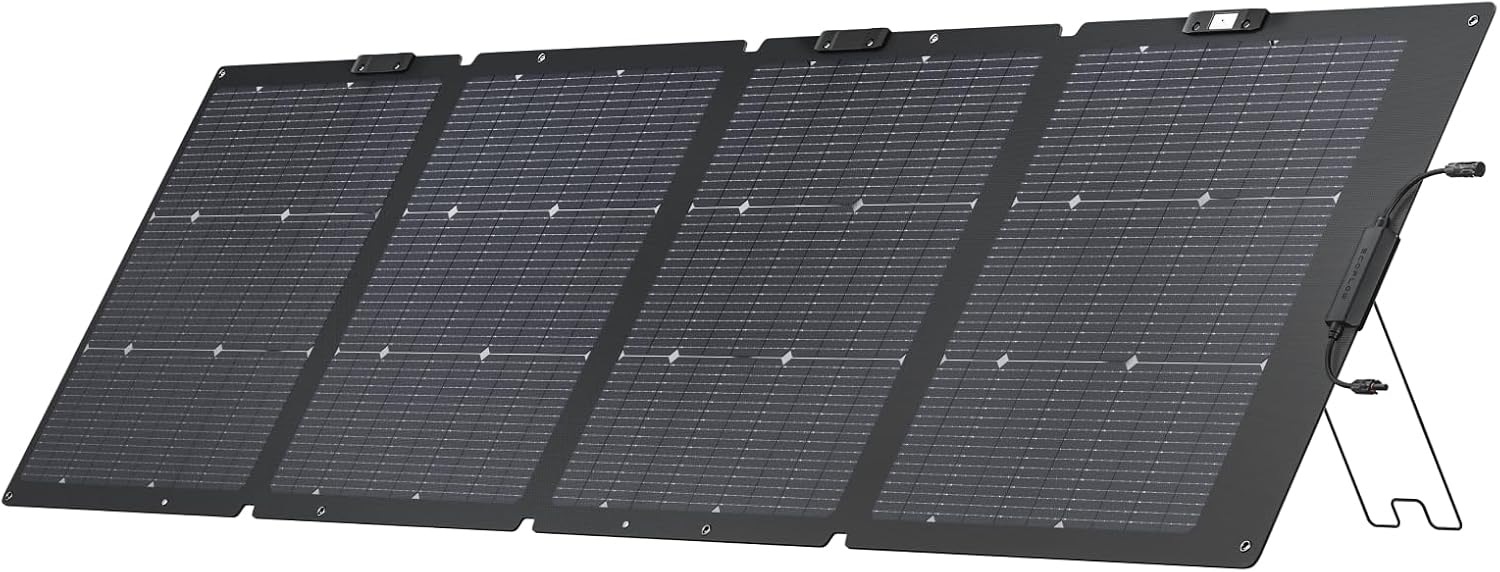
The Renogy REGO 400W
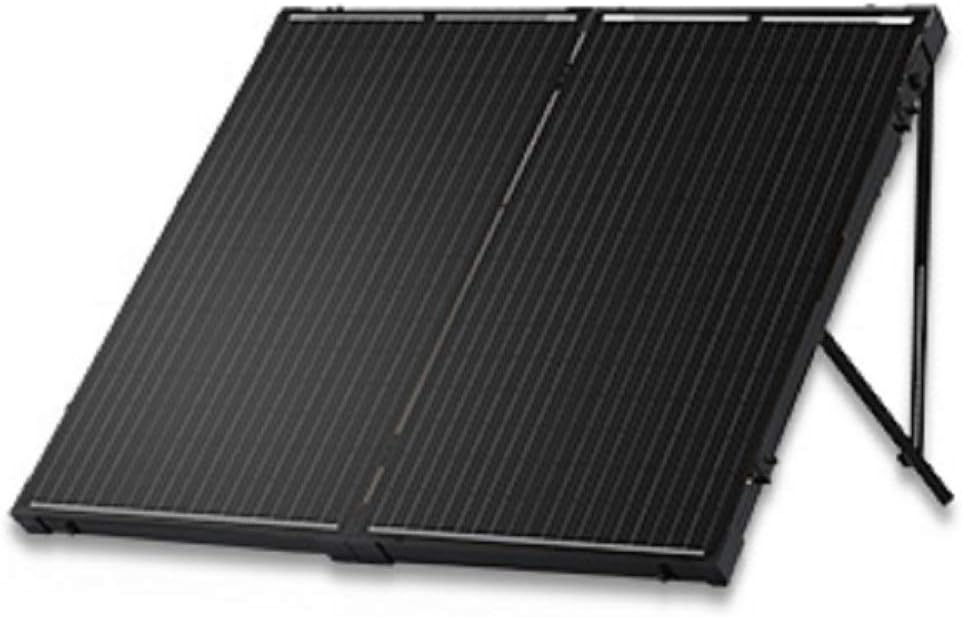
This is a portable kit — 400W of panels that fold up, with a built-in stand. It’s not for roof mounting; it’s for ground deploy. I used it before I did the roof install, and it worked well.
400W portable is a lot — the panels are big when unfolded (about 7 feet wide). But they set up in 2 minutes and the stand is sturdy. I got 320W in good sun, which is 80% of rated — excellent for portable.
The downside: it’s 46 pounds. That’s not “throw in the trunk” portable, that’s “I have a truck and I’m committed” portable. And at $600, it’s not cheap.
The ECO-WORTHY 400W kit
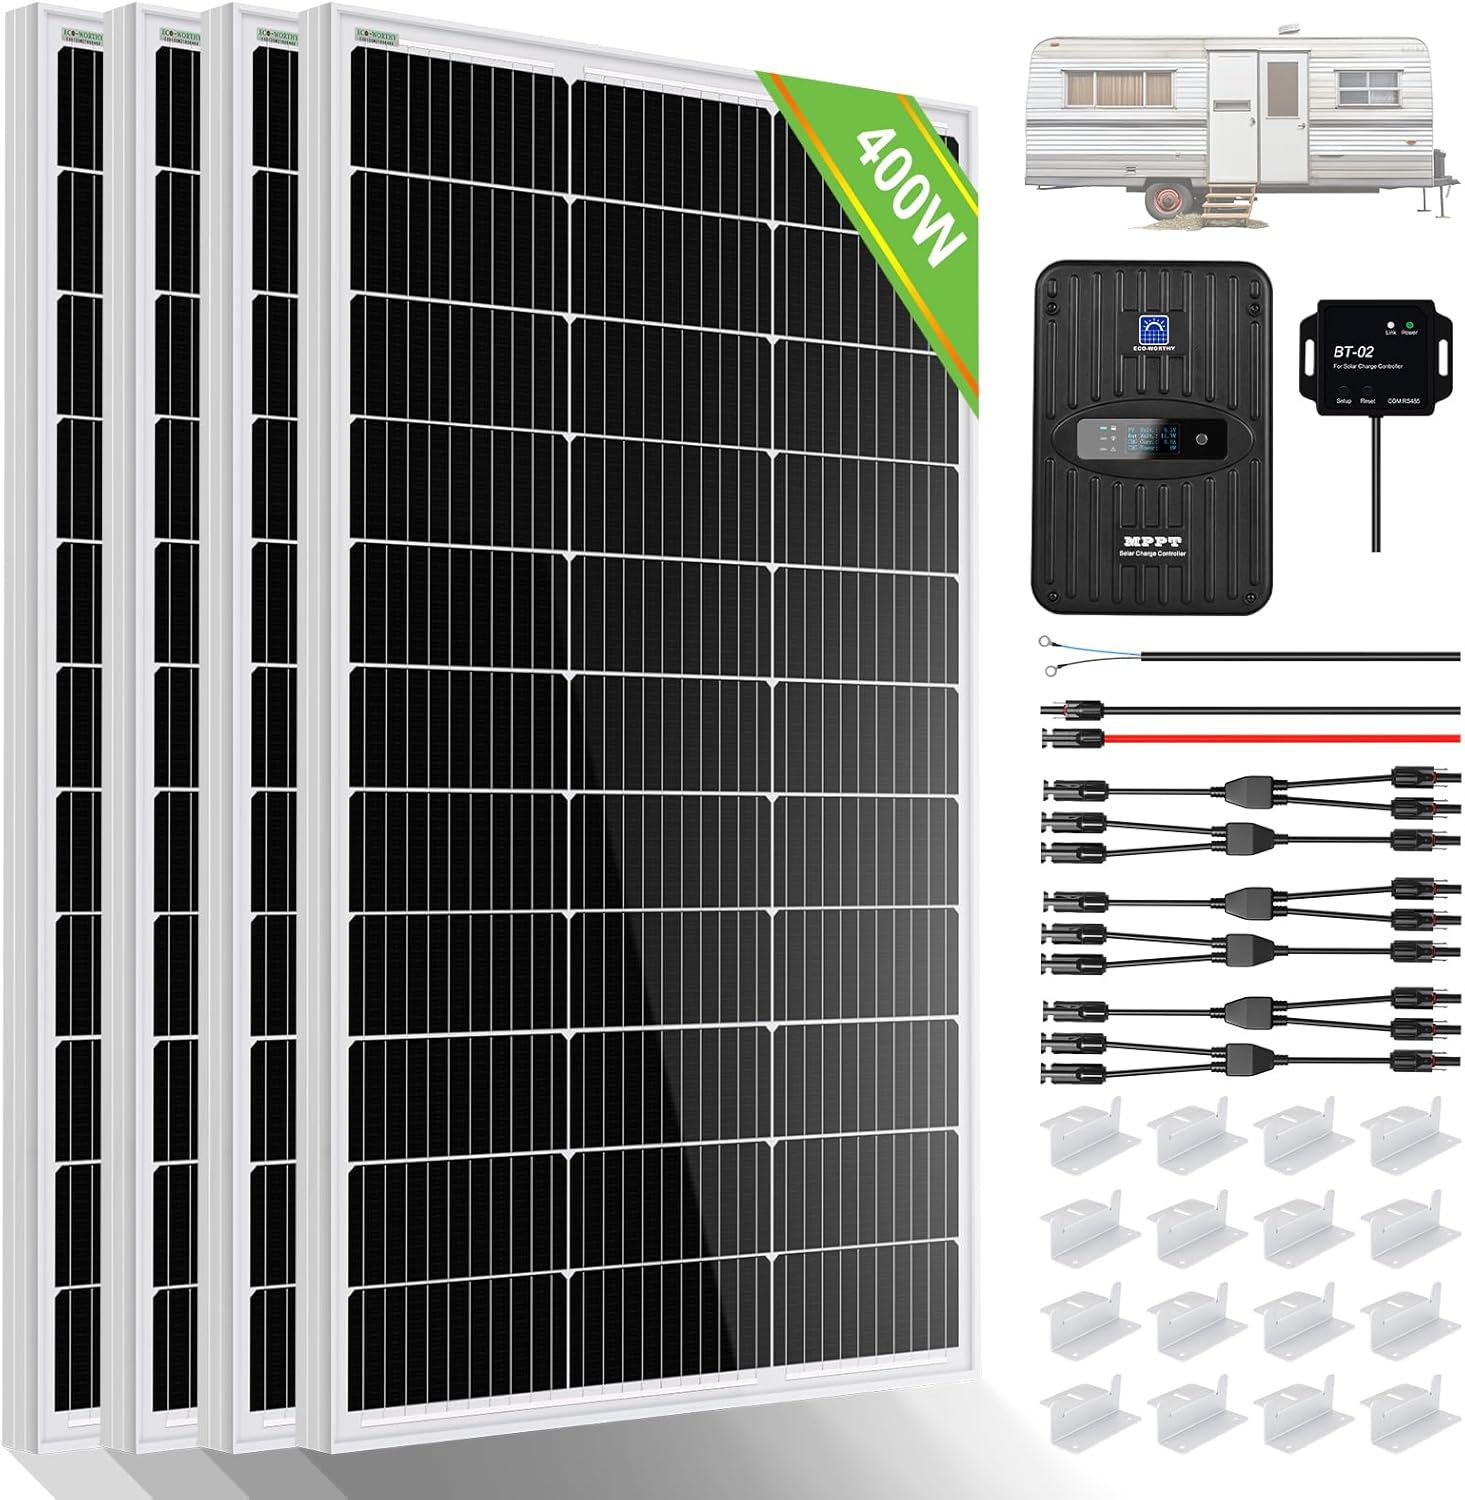
This is the roof-mount kit: four 100W rigid panels, 40A MPPT controller, cables, brackets. It’s the classic DIY setup. I installed this on my RV.
The panels are standard 100W rigid — nothing fancy, but they work. The 40A MPPT controller is the star: efficient, reliable, handles 12V or 24V. I wired the panels 2S2P (two in series, two strings in parallel) for 24V nominal, which the controller steps down to charge my 12V batteries.
Installation took a weekend. The hardest part was running the cables through the roof — I used a refrigerator vent, which is the standard trick. Seal everything with Dicor. Check it yearly.
Output: on a clear day, I get 1.6-1.9kWh. That’s enough to run the fridge (12V, efficient), lights, water pump, and charge devices, with power to spare. The generator stays off.
I said 1.6 to 1.9 in summer. Last August, heat wave, dust on the panels — I saw 1.4. Conditions matter more than ratings.
The ECO-WORTHY 400W N-type (alternative)
ECO-WORTHY also sells a 400W kit with N-type panels (4x100W). Slightly more efficient, slightly more expensive. If you’re buying new, the N-type is worth the premium — better low-light, better heat tolerance. If you already have P-type, don’t upgrade; the difference isn’t worth it.
I haven’t tested flexible panel kits — strictly rigid glass on my roof, so I can’t speak to the flexible kind.
What I’d do differently
I’d have gone 24V from the start. I started 12V, then realized the currents were high and the voltage drop was annoying. Rewiring to 24V (with a DC-DC converter for the 12V loads) was a pain. Start 24V if you’re doing 400W+.
I’d also have bought the tilt brackets. Flat panels lose 15-20% in winter vs. tilted. The brackets are $50 and take an hour to install. Worth it.
The bottom line
400W on an RV is the sweet spot. Enough to be useful, not so much that it’s a major project. The kits work, the installation is DIY-able, and the freedom of not running the generator is real.
The freedom part is real, it just comes in kilowatt-hours, not watts.
Conditions matter more than ratings. But even at 1.4kWh on a bad day, it’s 1.4kWh I didn’t have to generate with diesel. That’s the point.
The wiring diagram
For the 400W roof kit: four 100W panels, each with MC4 connectors. Wire two in series (positive to negative), then wire the two series strings in parallel (positives together, negatives together). This gives you 24V nominal at 20A.
Run 10 AWG solar cable from the roof to the charge controller. Keep the run under 30 feet to minimize voltage drop. The controller goes near the batteries. Batteries to inverter with 2/0 AWG (for 12V) or 1/0 AWG (for 24V).
Fuse everything: 30A fuse between panels and controller, 100A fuse between batteries and inverter (for 12V), disconnect switches where you can reach them. If it can short, it will short. Fuse it.
The monitoring
I use a Victron SmartShunt ($130) to monitor the batteries. It shows real-time current, state of charge, time remaining. The ECO-WORTHY controller has a basic display, but the Shunt is better.
After a month, I stopped checking. The system just works. That’s the goal.
Is it worth it?
400W of solar on an RV costs about $800 (kit + installation). It saves $20-30 per night in hookup fees if you boondock. Payback in 30 nights. If you camp 15 nights a year, that’s 2 years.
But the real value isn’t money — it’s freedom. Park anywhere. No generator noise. No hookup hunting. That’s worth more than $800.
Frequently Asked Questions
Is this product worth the price?
Based on our testing, yes — if it fits your specific needs. Compare the specs to your actual usage pattern before buying.
How does it compare to competitors?
See the product comparison above. Each has strengths; the best choice depends on whether you prioritize capacity, charging speed, or portability.
Where can I buy it?
Check the current price via the links above. Prices fluctuate, especially during sales events.